How to Install WordPress on Localhost Using Local
Setting up WordPress on your local machine is an excellent way to develop and test your site before making it live. Local is a popular tool that simplifies the process of setting up a local WordPress environment. This guide will walk you through the steps to install WordPress on your localhost using Local.
Downloading Local

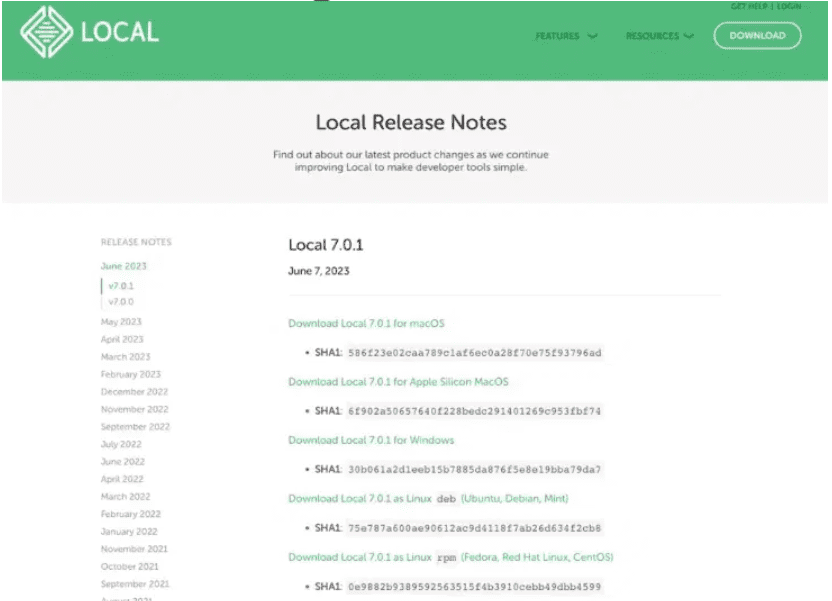
\First, you need to download the latest version of Local suitable for your operating system. Visit the Local releases page and select the appropriate version for your OS.
System Requirements
General Requirements
To run Local effectively, your system should have:
- At least 4GB of RAM
- A minimum of 1.5GB of disk space
These requirements will suffice for installing Local and creating a few new WordPress sites using the Preferred Environment. If you plan on working with larger sites or need additional Lightning Services for a Custom Environment, more disk space will be necessary.
macOS Requirements

- macOS Catalina (10.15) or higher
- Rosetta 2 is required for Local’s Apple Silicon build due to the Nginx and MySQL Lighting Services compiled on the Intel architecture.
Windows Requirements

- Windows 7/8/8.1 will no longer be supported with the release of Local v8.0.
- Local is an Electron app. To stay updated with the latest improvements and security fixes, Local will update to Electron v25, which no longer supports Windows 7/8/8.1.
Note: Local can still be installed on macOS versions before Catalina (10.15) and Windows 7, 8, and 8.1, but users won’t have the full functionality of the latest Local version. For full functionality on older versions, install Local before v6.5 (for Mac) and v8.0 (for Windows). Refer to the help documentation on how to downgrade your Local version if necessary.

Authorizing Local
In some cases, your IT or security team might need to authorize certain URLs used by Local for seamless operation. Adding the following URLs to your allowlist can help:
- hub.localwp.com: Connects the Local Desktop app to the Local Web account, required for Web-focused features like the Backups Addon or Live Links.
- api.wpengineapi.com: Necessary for the Connect to WP Engine feature.
- app.getflywheel.com: Enables the Connect to Flywheel functionality.
- cdn.localwp.com: Allows the Local Desktop app to download additional services.
Installation Instructions
Installing Local on macOS
- Download the Local installer from the Local releases page.
- Double-click the .dmg file to open it.
- Move the Local application to the /Applications folder.
Installing Local on Windows
- Download the Local installer from the Local releases page.
- Double-click the installer and follow the on-screen instructions.
- After installation, create your first site. You may encounter several pop-ups from Windows Defender due to security settings.
- Click “Allow access” on these pop-ups to enable communication for various parts of Local. If you miss these prompts, update the settings within the “Allowed Apps” section of the “Windows Defender Firewall” settings.
Installing Local on Debian-Based Linux

- Download the .deb version of Local from the Local releases page.
- You can install the .deb file by:
- Double-clicking the file to open it with your system’s package manager.
- Using the command line to install with apt:bashCopy code
sudo apt install ./local.deb
While we test Local on Ubuntu and Pop_OS, it may work on other distributions, although we haven’t verified this.
Setting Up WordPress on Local
Once Local is installed, setting up WordPress is a breeze:
- Open Local and click on the + button or “Create a new site”.
- Enter a name for your site and click Continue.
- Choose your environment. For most users, the “Preferred” environment is suitable, but you can select “Custom” if you have specific needs.
- Enter your WordPress username, password, and email, then click Add Site.
- Local will now download and configure WordPress for you.
After these steps, you’ll be able to access your local WordPress site by clicking the Admin button in Local, which will open the WordPress admin dashboard in your browser.
Conclusion
Installing WordPress on your local machine using Local is a straightforward process that enables you to develop and test your site in a controlled environment. By following this guide, you can quickly set up a local WordPress environment, allowing you to focus on building and customizing your site without the constraints of a live server.
Stay updated with more tutorials and tips by subscribing to our newsletter.


