Partner with us to boost your digital presence, attract more customers, and grow your sales. From getting your business online to tripling your traffic, we’re here to make it happen — because your growth matters to us just as much as it matters to you. Let’s connect.
How to Integrate Live Chat on Your WordPress Site Using Tawk.to?
How to Integrate Live Chat on Your WordPress Site Using Tawk.to
Adding live chat functionality to your website is a great way to engage with your visitors in real-time, improve customer support, and boost conversions. Tawk.to is a popular and free live chat solution that you can easily integrate into your WordPress site. In this guide, we’ll walk you through the steps to set up Tawk.to live chat on your WordPress website.
Step 1: Sign Up for Tawk.to
Before integrating Tawk.to with your WordPress site, you need to create a Tawk.to account.
Fill in the required details (Name, Email, Password) and click “Sign Up Free”.
Check your email to confirm your account and complete the registration process.
Step 2: Set Up Your Tawk.to Widget
Once you have created and verified your account, you can set up your live chat widget.
Log in to your Tawk.to dashboard.
Click on the “Administration” (gear icon) in the sidebar.
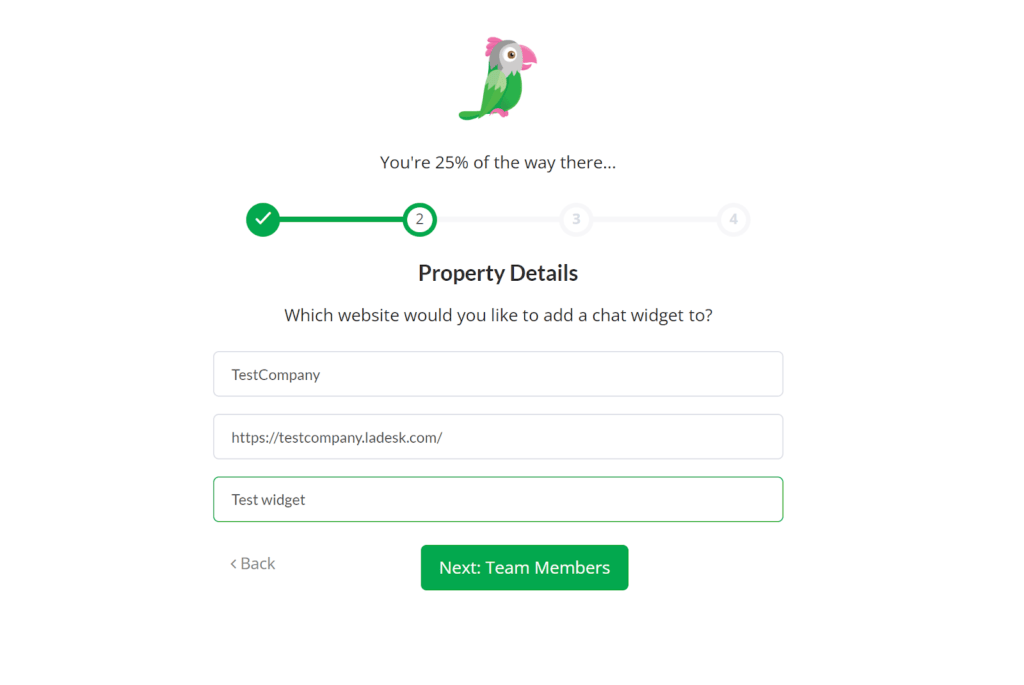
Select the property (website) you want to add the chat widget to or create a new one by clicking “Add Property”.
Follow the on-screen instructions to set up your property if it’s new.
After setting up your property, click on “Chat Widget” in the left sidebar.
Customize the appearance and behavior of your chat widget as desired.
Once you’re satisfied with the settings, click on “Save” to save your widget.
Step 3: Install the Tawk.to Plugin on WordPress
With your Tawk.to account and widget ready, the next step is to integrate it into your WordPress site using the Tawk.to plugin.
Log in to your WordPress admin dashboard.
Navigate to Plugins > Add New.
In the search bar, type “Tawk.to Live Chat” and press Enter.
Locate the “Tawk.to Live Chat” plugin and click on the Install Now button.
After the installation is complete, click on the Activate button.
Step 4: Connect Your Tawk.to Account to WordPress
Now that the plugin is activated, you need to connect it to your Tawk.to account.
In the WordPress admin dashboard, go to Tawk.to in the sidebar menu.
Click on the Settings tab.
Click on the “Sign In” button to log in to your Tawk.to account from within WordPress.
Once logged in, select the property (website) and the widget you created earlier from the drop-down menus.
Click on the Use selected Widget button to save your settings.
Step 5: Customize and Manage Your Chat Widget
With the integration complete, you can further customize and manage your chat widget directly from the Tawk.to dashboard or through the WordPress plugin settings.
Customization Options
Appearance: Adjust the color, size, and position of your chat widget to match your website’s design.
Behavior: Set up automated messages to greet visitors or provide information.
Triggers: Create triggers based on user behavior to proactively engage visitors.
Departments: Set up departments to route chats to the appropriate team members.
Managing Chats
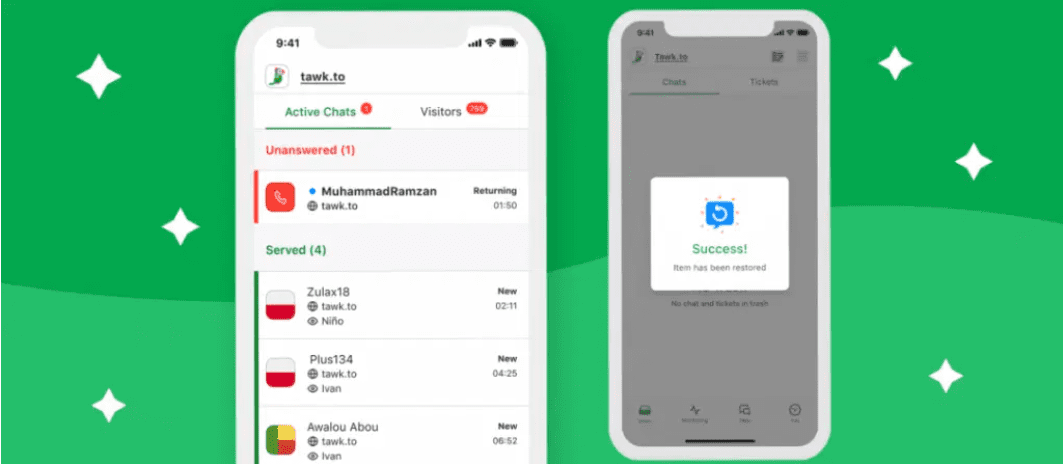
Dashboard: Use the Tawk.to dashboard to monitor and manage live chats in real-time.
Mobile App: Download the Tawk.to mobile app to handle chats on the go.
Conclusion
Integrating Tawk.to live chat into your WordPress site is a straightforward process that can significantly enhance your customer interaction and support. By following these steps, you can set up a fully functional live chat system that helps you engage with your visitors, answer their queries in real-time, and improve overall user experience.
Don’t miss out on more tips and tutorials for optimizing your WordPress site! Subscribe to our newsletter to stay updated with the latest WordPress news and guides.
To provide the best experiences, we use technologies like cookies to store and/or access device information. Consenting to these technologies will allow us to process data such as browsing behavior or unique IDs on this site. Not consenting or withdrawing consent, may adversely affect certain features and functions.
Functional
Always active
The technical storage or access is strictly necessary for the legitimate purpose of enabling the use of a specific service explicitly requested by the subscriber or user, or for the sole purpose of carrying out the transmission of a communication over an electronic communications network.
Preferences
The technical storage or access is necessary for the legitimate purpose of storing preferences that are not requested by the subscriber or user.
Statistics
The technical storage or access that is used exclusively for statistical purposes.The technical storage or access that is used exclusively for anonymous statistical purposes. Without a subpoena, voluntary compliance on the part of your Internet Service Provider, or additional records from a third party, information stored or retrieved for this purpose alone cannot usually be used to identify you.
Marketing
The technical storage or access is required to create user profiles to send advertising, or to track the user on a website or across several websites for similar marketing purposes.